Pin-up wound up winning! Yay! This was my first time doing ANY kind of look like this. Sure, I've done a neutral eye. I've also done winged liner. I've also worn red lips! But together? Never!! I loved that this look pushed me out of the boundaries and really forced me to be super neat, super detailed, but MOST important, to have a TON of fun with makeup!
Product list will be below as always. If any of you ever have a request for something specific you'd like to see, even if I've NEVER done it before, please feel free to ask! I'm always open to stepping out of my comfort zone and trying new makeup adventures. :)
(PS - This post is definitely photo heavy! My apologies!)
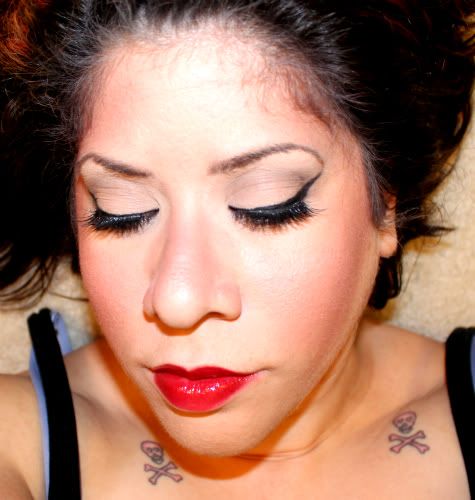
So before I started taking photos of my eyes, I had already applied my face primer, foundation, powder, and eyeshadow primer. Not necessarily in that order, though...
I started by applying NYX Eyeshadow Base in White all over lid, up to the brow:
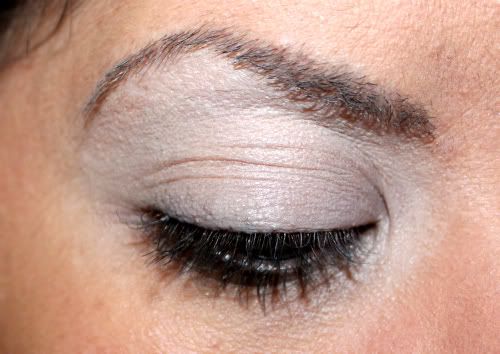
I then took ULTA's Camel shadow and applied it all over the lid, then took ULTA's Bone shadow and blended it from the crease area up to the brow, and also in the inner corner.

I then took ULTA's Milk Chocolate and applied it into the crease.
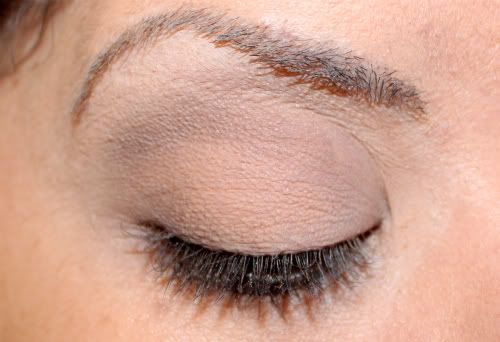
I used the same color to fill in my brows, which wound up being WAY too dark. I used a stiff brush to get most of it out, but that was done way later in the game. Here are the brows filled in super dark.

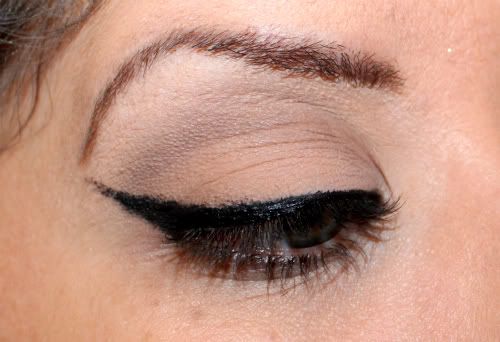
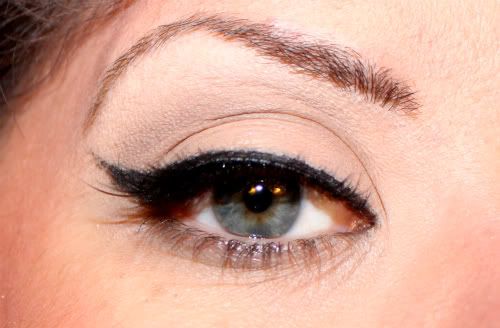
I used my MUFE Kohl Eyeliner in 1K and dipped it into some gel liner to line my eyes and make the wings. My eyes totally don't match and it's not the best liner, but it came out EXACTLY how I wanted it to! Best piece of advice I can give anyone reading this on how to make your winged liner work is to start out slow and continue slow. You can always add to it!
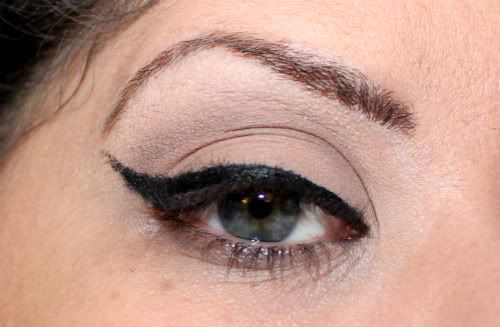
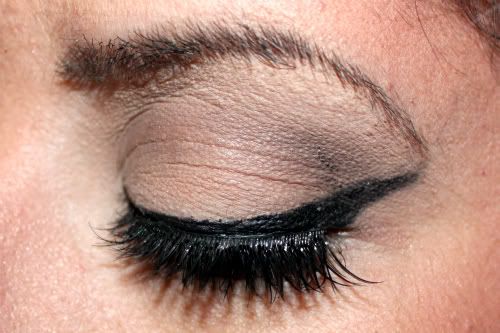
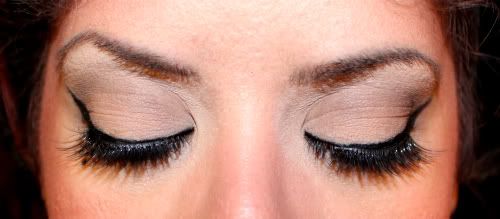
I applied mascara and these brand-new falsies. Again, not well LOL. I'm still not that great with falsies.
I then took some time to contour my face. Everyone's face will get contoured differently, so what works for me may not necessarily work for you. :) I also used a liner that was slightly darker than my lip color to line and lightly fill in my lips. This will give the lipstick something to stick to.
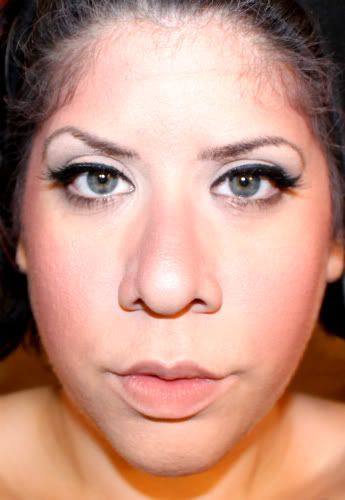
Then I filled in my lips with two different shades of red and dipped the MUFE pencil into the gel liner and created a little beauty mark underneath my eye. You could easily use some gold shadow to highlight the very center "bow" of the lips and it would look 10x more beautiful!

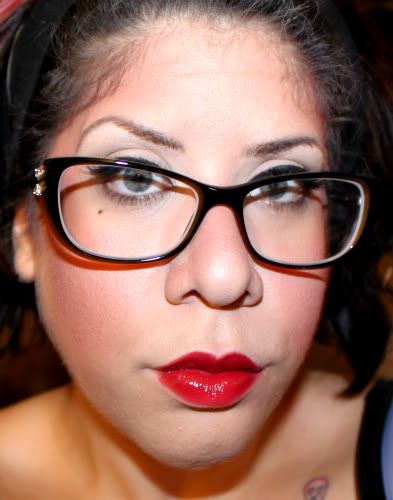
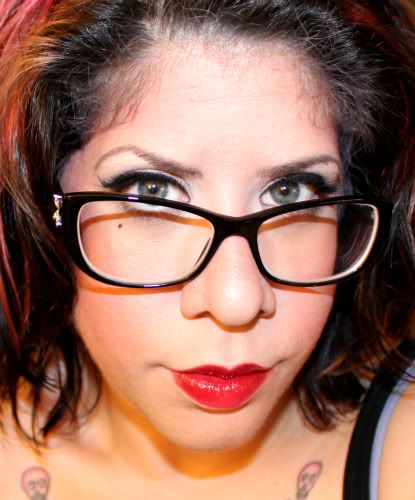
You know I couldn't do a look without my glasses! ;)
Okay, so... products used!
Face:
-Revlon Colorstay Foundation in 180 Sand Beige
-Sephora Compact powder foundation in Light 20
-No name bronzer
-Benefit blush in Coralista
Eyes:
-NYX Eyeshadow Base in White
-ULTA shadows in Bone, Camel, and Milk Chocolate
-MUFE kohl eyeliner in 1K
-Maybelline Eyestudio gel liner in Blackest Black
-CoverGirl LashBlast Fusion mascara in Very Black
-Sephora lashes "Tempting"
Lips:
-N.Y.C. Brow Liner in Auburn to lightly line/fill
-ULTA's lipsticks in Sangria and Red Carpet Red
The only thing I would do different would be to either use a taupe or a white liner on the lower waterline. :) So... what do you think? :)
I love these lil tutorials... amazing work, my beautiful and talented ciz! I need to learn how to put falsies on by myself. I always screw it up... yours look great though!!
ReplyDeletethanks fliz!! i fight with falsies all the time... i wish i had tips and tricks, but i really don't lol.
ReplyDeleteCool lipstick! Great blog :)
ReplyDeletexoxo,
Jen
http://www.iloveluxe11.com
Thanks Jen! :)
ReplyDelete